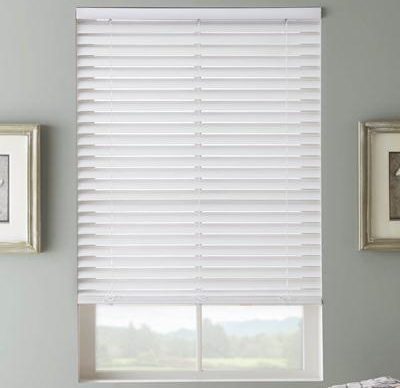
Measuring your windows to have blinds installed can be a tricky business, but we can help you get it done with these simple steps. The first decision you need to make before measuring your windows is whether you want the blinds mounted on the inside or outside of your window frame.
If mounted on the inside of the window frame, blinds can provide a clean look. In this way, the headrail will sit back in the window casing so it can emphasize the actual size of your window while making the window molding visible. If you prefer your blind to fit directly with the window molding, it’s best to have enough depth in your window for the width of the headrail to be accommodated. However, even if you don’t have enough space for this arrangement, you can still proceed with an inside mount — take note that the blind will protrude slightly out from the window molding.
If you mount the blinds on the outside of a window frame, it can provide the illusion of a longer and broader window, which can help to hide flaws or an unattractive window. With an outside mount, the blinds can be mounted on the window either on the molding itself or above the window molding. The advantage of an outside mount is greater light control and more privacy, which may be the better choice for families. Also, an outside mount may be the only option for homeowners with windows that aren’t deep enough to hold the blind mounting brackets.
Inside-Mounted Horizontal Blinds
- Make exact measurements of the window including top, middle, and bottom. Make sure to use the narrowest width and don’t make any deductions — the factory will make the necessary deductions to accommodate the mounting brackets and the headrail.
- Make exact measurements of the window’s height, including the left, middle, and right side. Again, don’t make any deductions and provide the precise measurements of the most extended height.
Outside-Mounted Horizontal Blinds
- Measure the exact width where you want the blind to be placed. Since it will be mounted on the outside, add at least 3 inches (1-½” per side) for overlap, and to provide enough privacy and optimum light control.
- Then, measure the exact height from the top of the headrail location down to the base of the sill. If there’s no sill, you can measure up to where the blind will reach. Once again, add 1-½” to the height for optimum light control.
Inside-Mounted Vertical Blinds
- Since inside mount blinds are installed inside the window casing or door, the window casing needs to be at least 3 ¾” deep for a flush vane mount or 2 ¾” deep for a flush track mount. The window should also have space for the inside mount with a minimum of 2 ⅜”.
- Then measure the width of the window from the top of the sill in 3 places — it is best to use the smallest dimension for the blind width.
- Now, measure the exact height of the window in three different places from the top edge of the opening to the top of the sill.
- Measure the window diagonally in two places — if the two diagonal dimensions aren’t equal, it is best to switch to an outside mount instead, to get the most out of the window’s aesthetics and shade function.
Outside-Mounted Vertical Blinds
- For outside-mounted vertical blinds, measure the exact width of the window, including the frame and molding if it is present. Add 3″ on each side to make a total of 6″ overlap to get the best light control and optimum privacy.
- Then take the exact height of the window from the top edge of the molding to the bottom edge, or the top of the sill if you have one. As usual, add 3″ to give adequate mounting area above the window.
- If the blind extends to the floor, do the exact measurements as step two but leave out ½” to allow for clearance, so the vanes don’t touch the floor.
Vertical Blinds Stack Control Options
- Choose your preferred stacking option from a one-way draw or split draw.
- Then measure the window width including the molding — make sure to add at least 3″ to the width if you plan to use a one-way draw.
